The Settings page can be used to link another shop to your account.
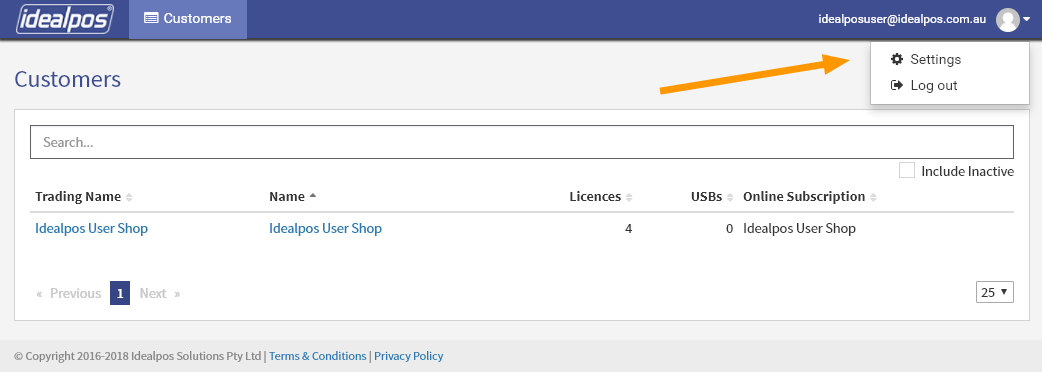
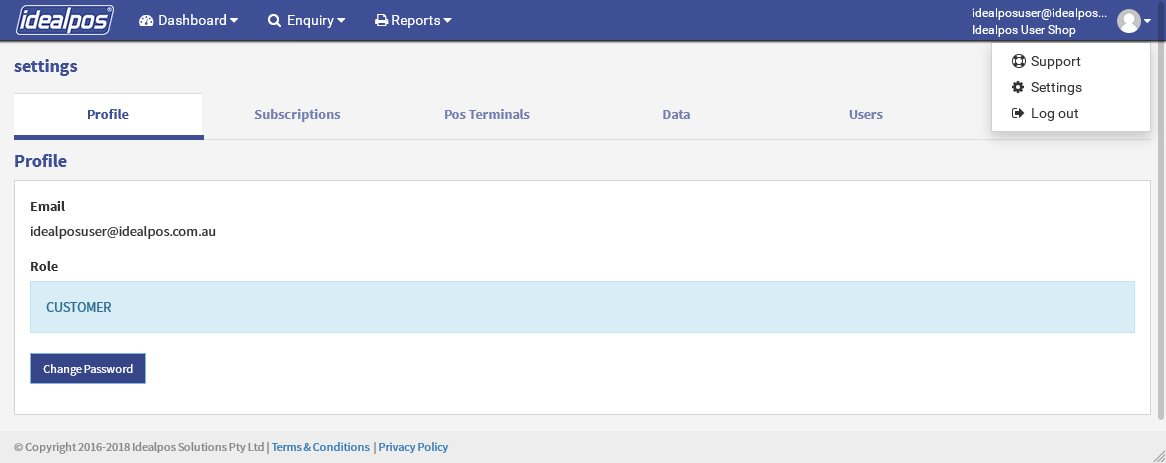
To do this, ensure that you're logged into the Service Portal, then click on the user avatar icon on the top right corner of the window, then press the 'Settings' menu option.
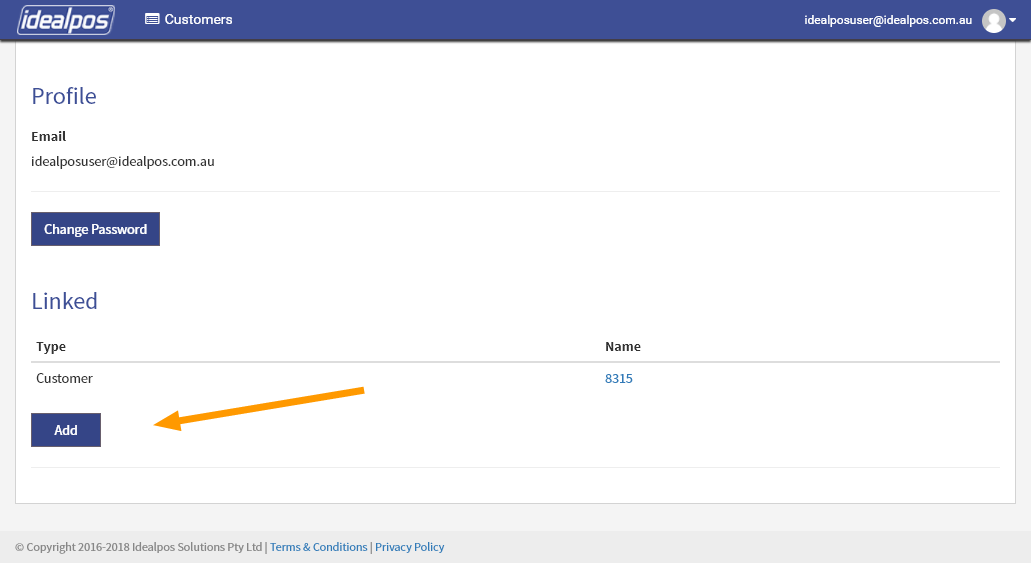
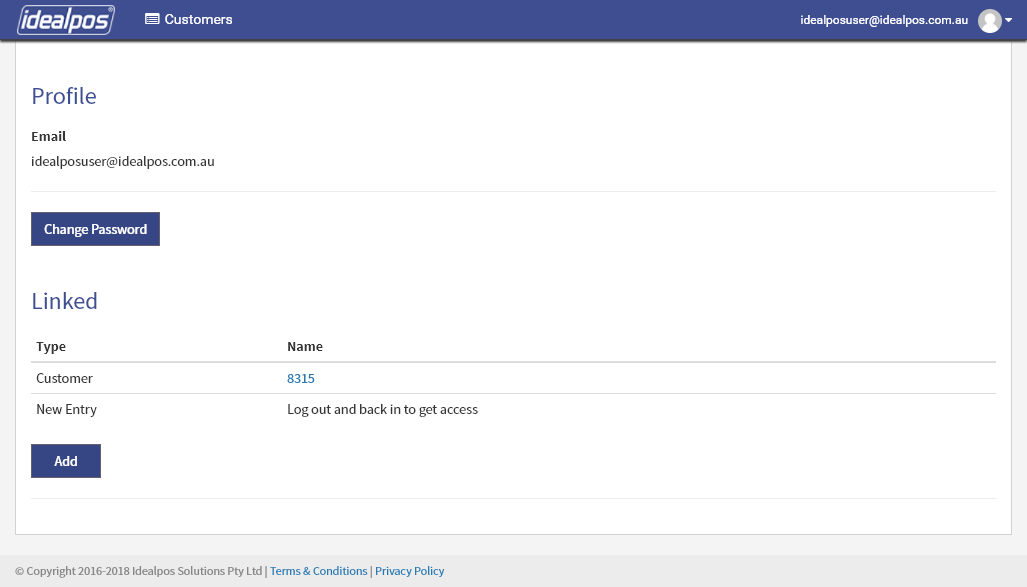
Then press the 'Add' button
You will then see a Username field, Access Code field and Apply button appear.
At the new shop, open Idealpos and select Utilities > Generate Access Code.
Note that the Generate Access Code menu option will only appear if you are logged in as Admin and have used the Admin Password.
Once you have the Username and Access Code, enter the Username and Access Code and press the 'Apply' button.
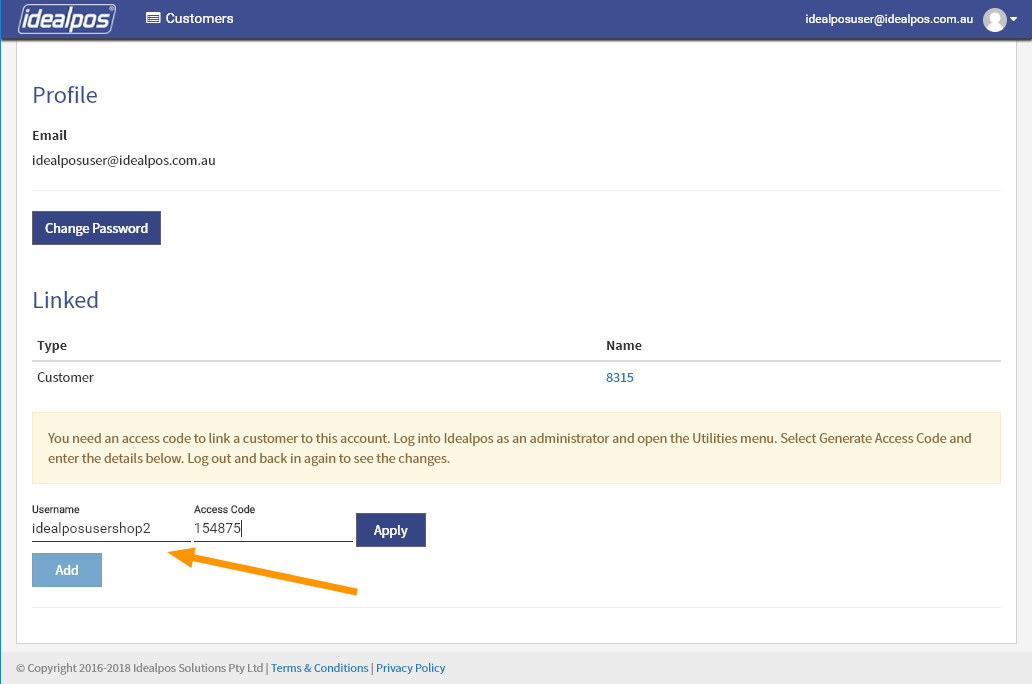
After you've pressed the 'Apply' button, you will see that the Customer has been added
Now that you have linked the new shop to your profile, log out of the Service Portal and log into https://online.idealpos.com.au
After you have logged in, press the user avatar icon on the top right corner of the window and select the 'Settings' option.
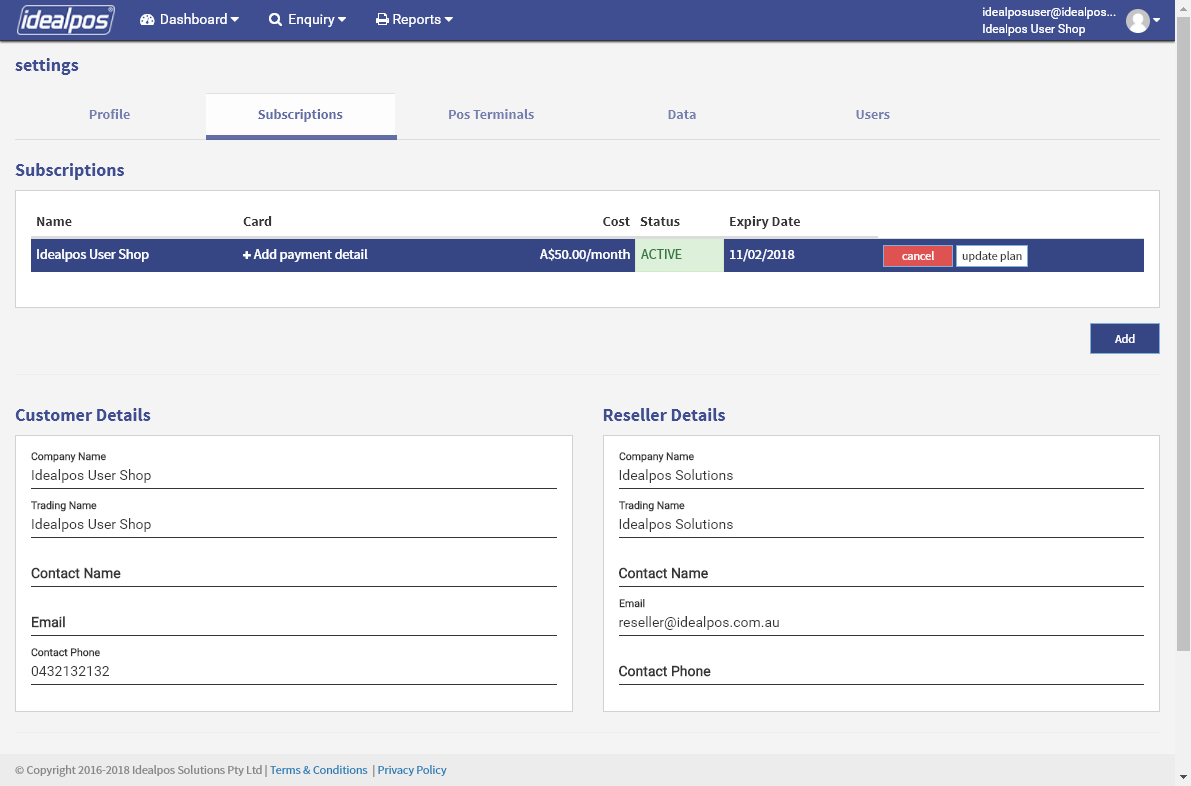
Then press the 'Subscriptions' tab and press the 'Add' button located below your Subscription.
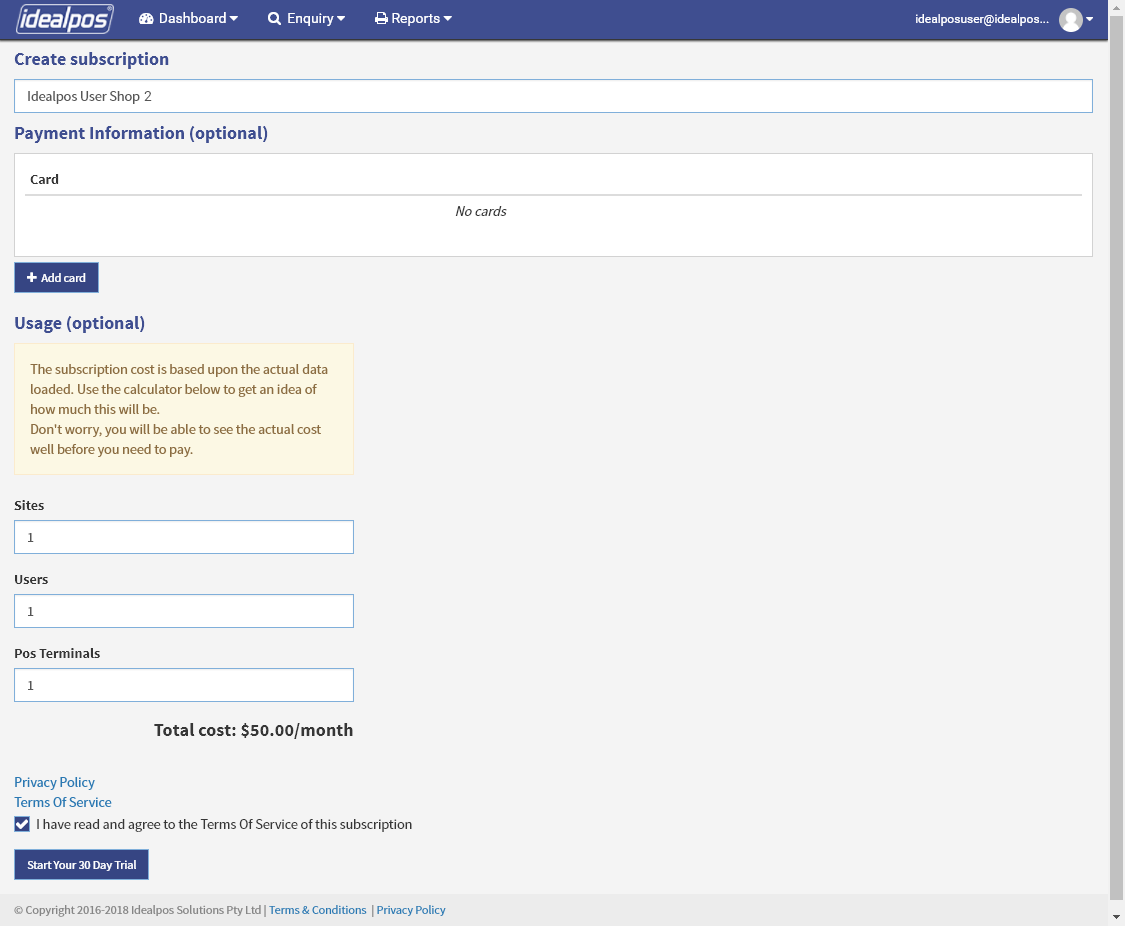
You should see the name of your new store appear in the Create subscription field.
Ensure that you agree to the Terms of Service and then press the 'Start Your 30 Day Trial' button.
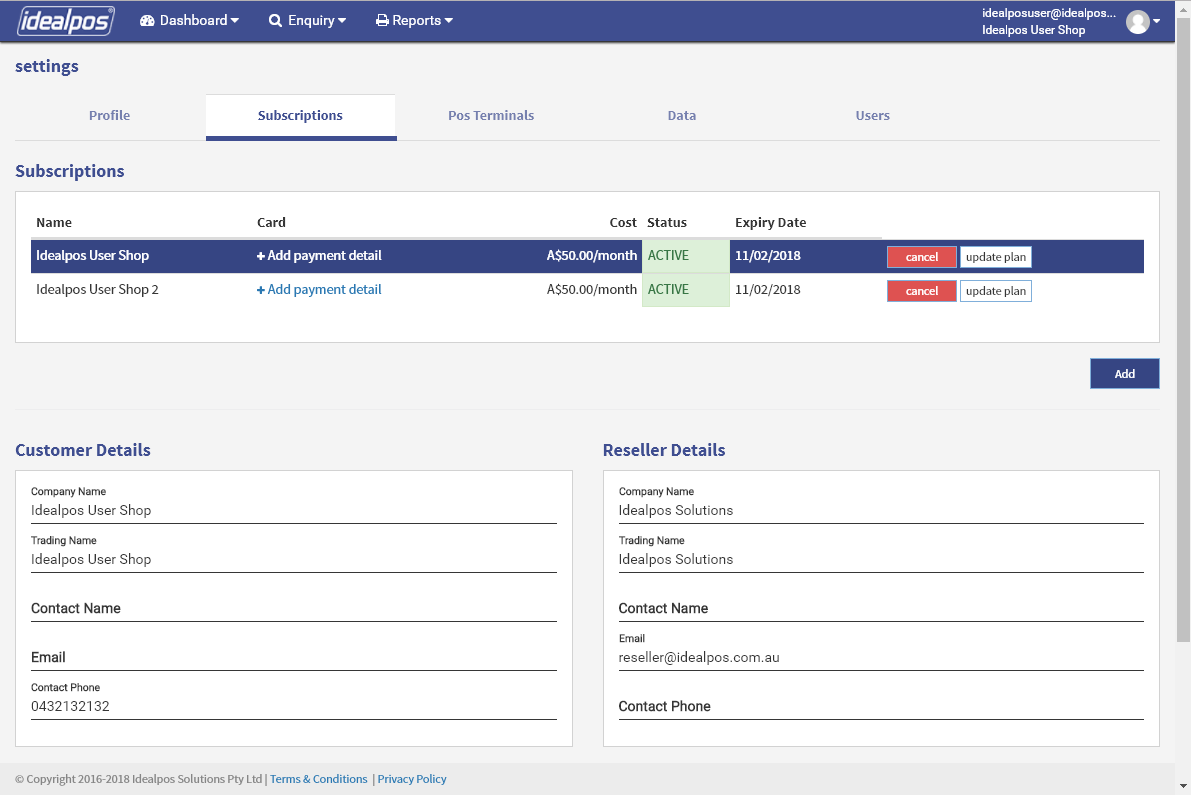
After completing the previous step, you'll see both Subscriptions in the Subscriptions tab.
You can switch between Subscriptions by clicking on the Subscription that you want to work with, then clicking on the desired feature that you want to use (Dashboard, Enquiry, Reports).